Running SAM model using Elixir and Ortex
I’m currently working at this internship where some of the sales team spend a lot of time removing background form images using the very famous removebg website. Of course all of that is done manually and takes quite some time. (removebg does offer an api but it’s expensive)
So I looked into what’s possible and I found out about Meta’s Segment Anything Model (SAM).
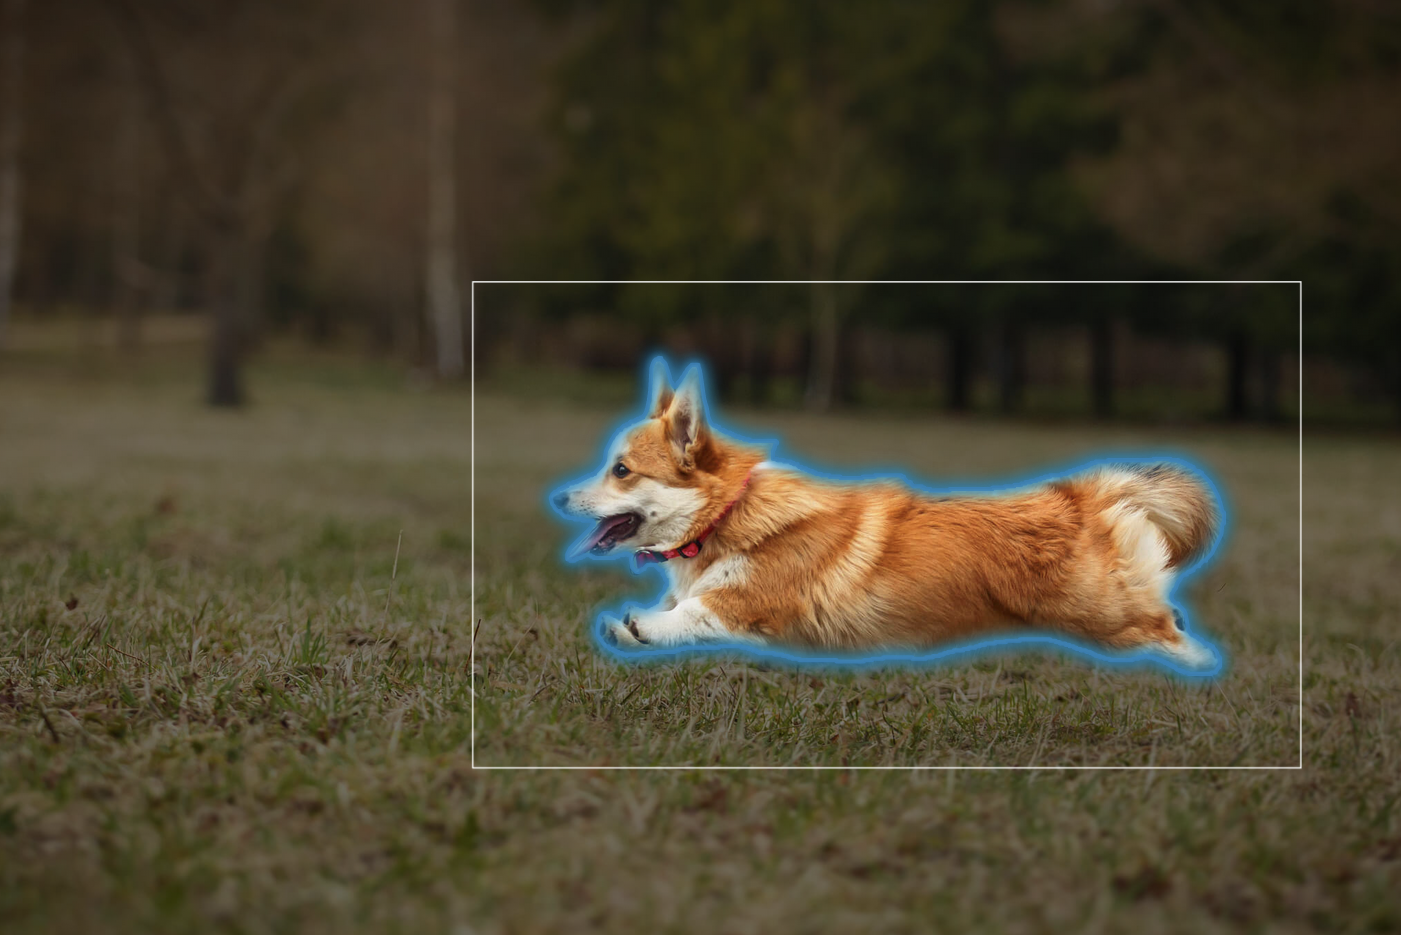
It’s an image-segmentation model that can take a bounding box as input to select the object within that box. It can be used to produce a mask and—once removed from the original image—boom, we have our own removebg.
Running models on the BEAM
As I had never worked with machine-learning models in Elixir (or any other language, actually) I decided to give it a try and run the model on the BEAM!
Elixir’s Bumblebee offers a high-level API similar to Python’s transformers. It includes some image-related helpers but lacks segmentation support, so we need to dive a bit deeper.
Enter Ortex:
Ortex allows for easy loading and fast inference of ONNX models using different backends available to ONNX Runtime such as CUDA, TensorRT, Core ML, and ARM Compute Library.
ONNX is basically the universal export format for models trained in PyTorch, TensorFlow, etc.
Let’s start coding :)
If you prefer, you can open the ready-made Livebook:
.
SAM (and most vision models) is split in two parts:
- Encoder) turns the raw image into a dense embedding.
- Decoder) takes that embedding + a prompt (point or box) and spits out a mask.
I’m roughly porting the original Python notebook and using the ONNX weights from this repo: https://huggingface.co/vietanhdev/segment-anything-onnx-models/tree/main
1 – Choosing the backend
Nx.global_default_backend(EXLA.Backend)
Nx.default_backend()
EXLA gives us XLA-compiled ops on CPU/GPU. On my M1 this shaved inference from \~3 s down to < 20 ms.
2 – Loading the models
model   = Ortex.load("~/models/mobile_sam_encoder.onnx")
decoder = Ortex.load("~/models/mobile_decoder.onnx")
Ortex.load/1 inspects the graph, picks the fastest runtime it can (CPU here) and returns a handle we’ll reuse for every call.
3 – Image preprocessing
- Resize to 1024 × 1024 (SAM’s expected resolution)
-
Convert to an
Nxtensor - Normalize with ImageNet mean / std
- Add the batch channel → shape becomes {1, 3, 1024, 1024}
image_input = Kino.Input.image("Uploaded Image")
%{file_ref: file_ref, format: :rgb, height: h, width: w} = Kino.Input.read(image_input)
content = file_ref |> Kino.Input.file_path() |> File.read!()
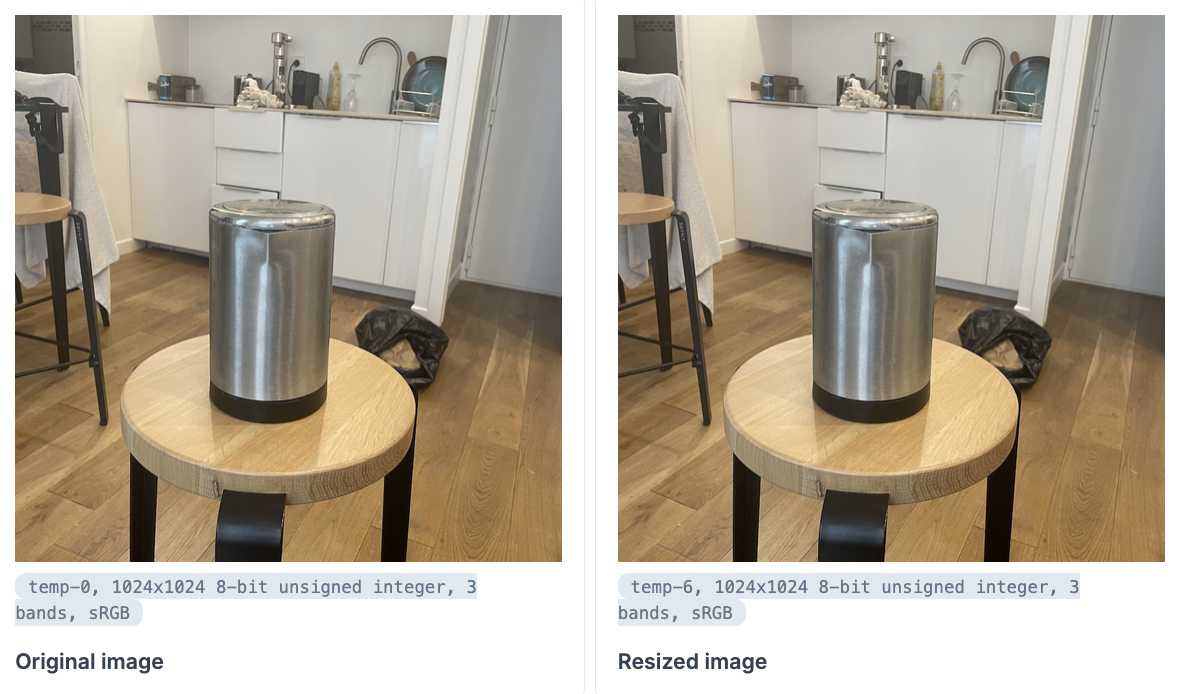
image_tensor =
Nx.from_binary(content, :u8) |> Nx.reshape({h, w, 3})At this point we display both the original and the resized (center-crop) just to double-check:
resized_tensor = StbImage.resize(image_tensor, 1024, 1024)

original  = Kino.Image.new(image_tensor)
resized   = Kino.Image.new(resized_tensor)

Kino.Layout.grid([
  Kino.Layout.grid([original, Kino.Markdown.new("**Original**")], boxed: true),
  Kino.Layout.grid([resized,  Kino.Markdown.new("**Resized 1024×1024**")], boxed: true)
])
Now we cast to :f32 and normalize:
tensor = resized_tensor |> Nx.as_type(:f32)

mean = Nx.tensor([123.675, 116.28, 103.53])
std  = Nx.tensor([58.395, 57.12, 57.375])

normalized =
  tensor
  |> NxImage.normalize(mean, std)
  |> Nx.transpose(axes: [2, 0, 1]) # HWC → CHW
  |> Nx.new_axis(0)                # batch dim
Why transpose? ONNX expects CHW but we loaded HWC. Adding the batch axis gives
{1, 3, 1024, 1024}.
4 – Running the image encoder
{image_embeddings} = Ortex.run(model, normalized)
image_embeddings shape is {1, 256, 64, 64} (a 64×64 grid of 256-dim vectors).
5 – Prompt encoding & mask generation
We’ll ask SAM to segment the object roughly located at (512, 512) in the resized image:
input_point  = Nx.tensor([[512, 512], [0,0]], type: :f32) |> Nx.reshape({1, 1, 2})
input_label  = Nx.tensor([1], type: :f32)          |> Nx.reshape({1, 1})
mask_input   = Nx.broadcast(0, {1, 1, 256, 256})   |> Nx.as_type(:f32)
has_mask     = Nx.tensor([0], type: :f32)
orig_size    = Nx.tensor([h, w], type: :f32)
Note: Here we’re setting a single point at (512,512) with the second coordinate pair [0,0] indicating this is a point input. To specify a bounding box instead, we could provide two actual coordinate pairs like [[x1,y1], [x2,y2]] representing the box corners, along with corresponding labels.
And run the decoder:
{mask_logits, _, _} =
  Ortex.run(decoder, {
    image_embeddings,
    input_point,
    input_label,
    mask_input,
    has_mask,
    orig_size
  })
6 – Post-processing the mask
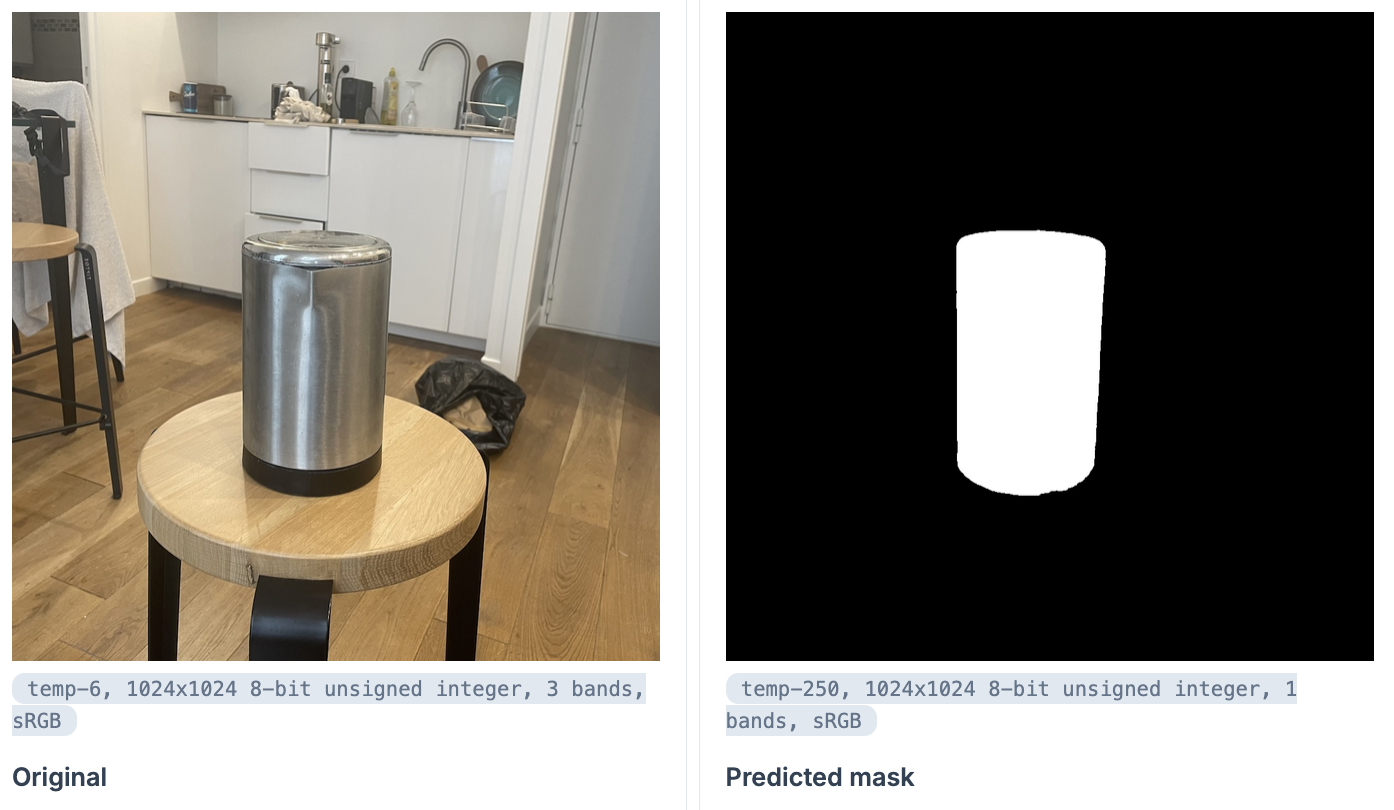
The decoder returns logits; everything ≥ 0 becomes white (255), everything < 0 becomes black (0):
mask =
  mask_logits
  |> Nx.backend_transfer()
  |> Nx.map(fn x -> if Nx.to_number(x) >= 0, do: 255, else: 0 end)
  |> Nx.squeeze()            # drop batch / channel dims
  |> Nx.as_type(:u8)
  |> Nx.reshape({h, w, 1})   # back to original size
Visual check:
Kino.Layout.grid([
  Kino.Layout.grid([original, Kino.Markdown.new("**Original**")], boxed: true),
  Kino.Layout.grid([Kino.Image.new(mask), Kino.Markdown.new("**Predicted mask**")], boxed: true)
])
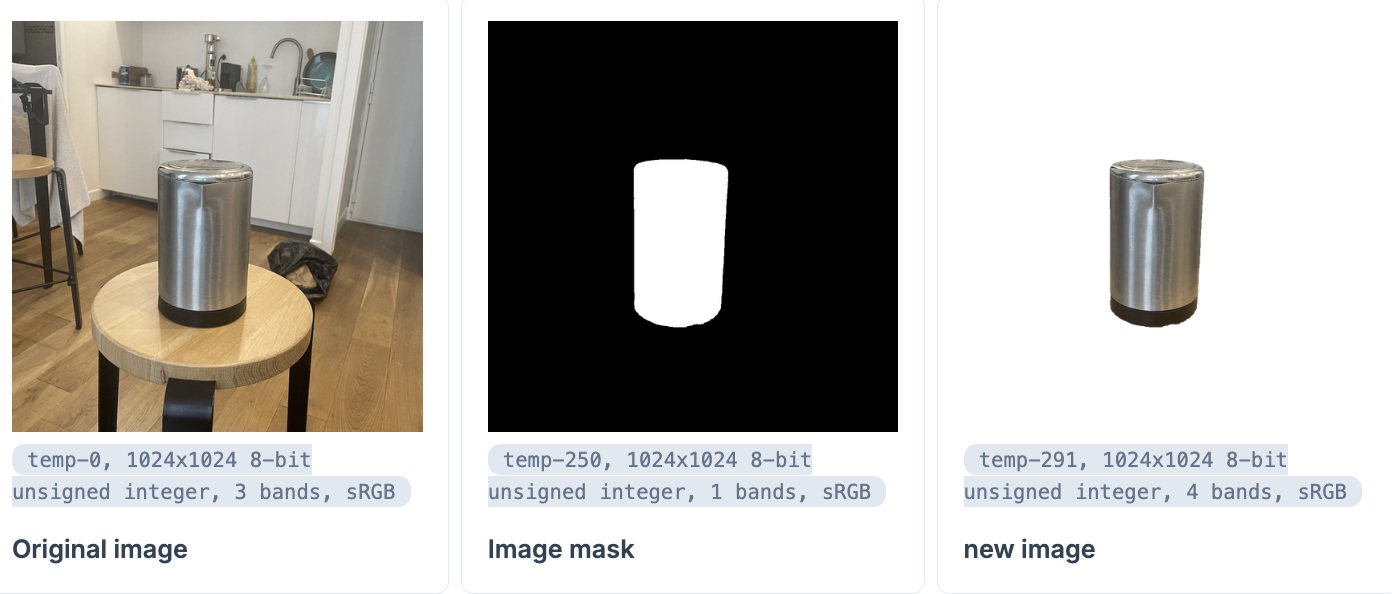
Finally, to save the mask (or composite it with an alpha channel) you can do:
StbImage.from_nx(mask) |> File.write!("mask.png")Let’s apply the mask to get our background-free image:
new_image = Image.add_alpha!(image, mask)
mask_label = Kino.Markdown.new("**Image mask**")
new_image_label = Kino.Markdown.new("**new image**")

Kino.Layout.grid(
  [
    Kino.Layout.grid([image, original_label], boxed: true),
    Kino.Layout.grid([mask, mask_label], boxed: true),
    Kino.Layout.grid([new_image, new_image_label], boxed: true)
  ],
  columns: 3
)
Conclusion
That’s all it takes to run Meta’s SAM locally in pure Elixir:
- \~40 lines of glue code
- No Python runtime – just Nx + Ortex
- Inference in tens of milliseconds on an M-series laptop
Next steps could be:
- Batch-processing a whole folder of product shots
- Adding a lightweight Phoenix UI for the sales team
-
Trying the larger
vit_bencoder if you have a beefier GPU
Have fun segmenting 🚀